5.0 Running the Application in SDK
Now that we've got all of our code written, the next step is to compile and link it. SDK actually does this automatically whenever you click the Save All icon on the toolbar at the top of the screen.
One of the cool things that the SDK does is offer you a Console at the bottom of the screen where you can see the stdout being pushed over the serial port. However, I'm not going to use that here because it doesn't do so well when it comes to accepting bytes from the user. You have to press the return key after each character, and our application gets confused when you do that.
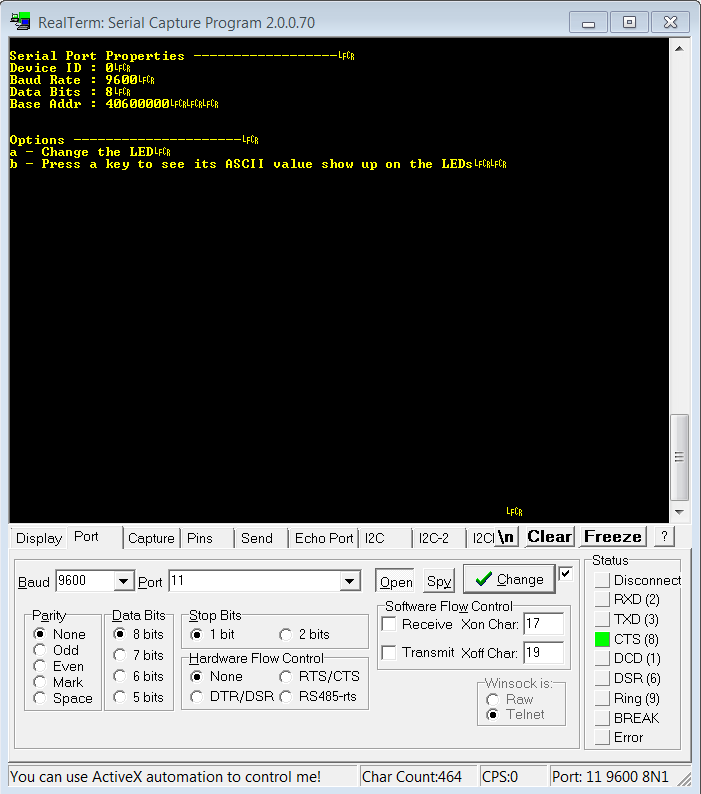
So go ahead and open your favorite serial port program (I prefer RealTerm) and open up a connection to whatever COM port the VC707 USB-to-Serial cable is connected to. Set the port to 9600 baud, 1 stop bit, 8 data bits, and no parity or hardware control.
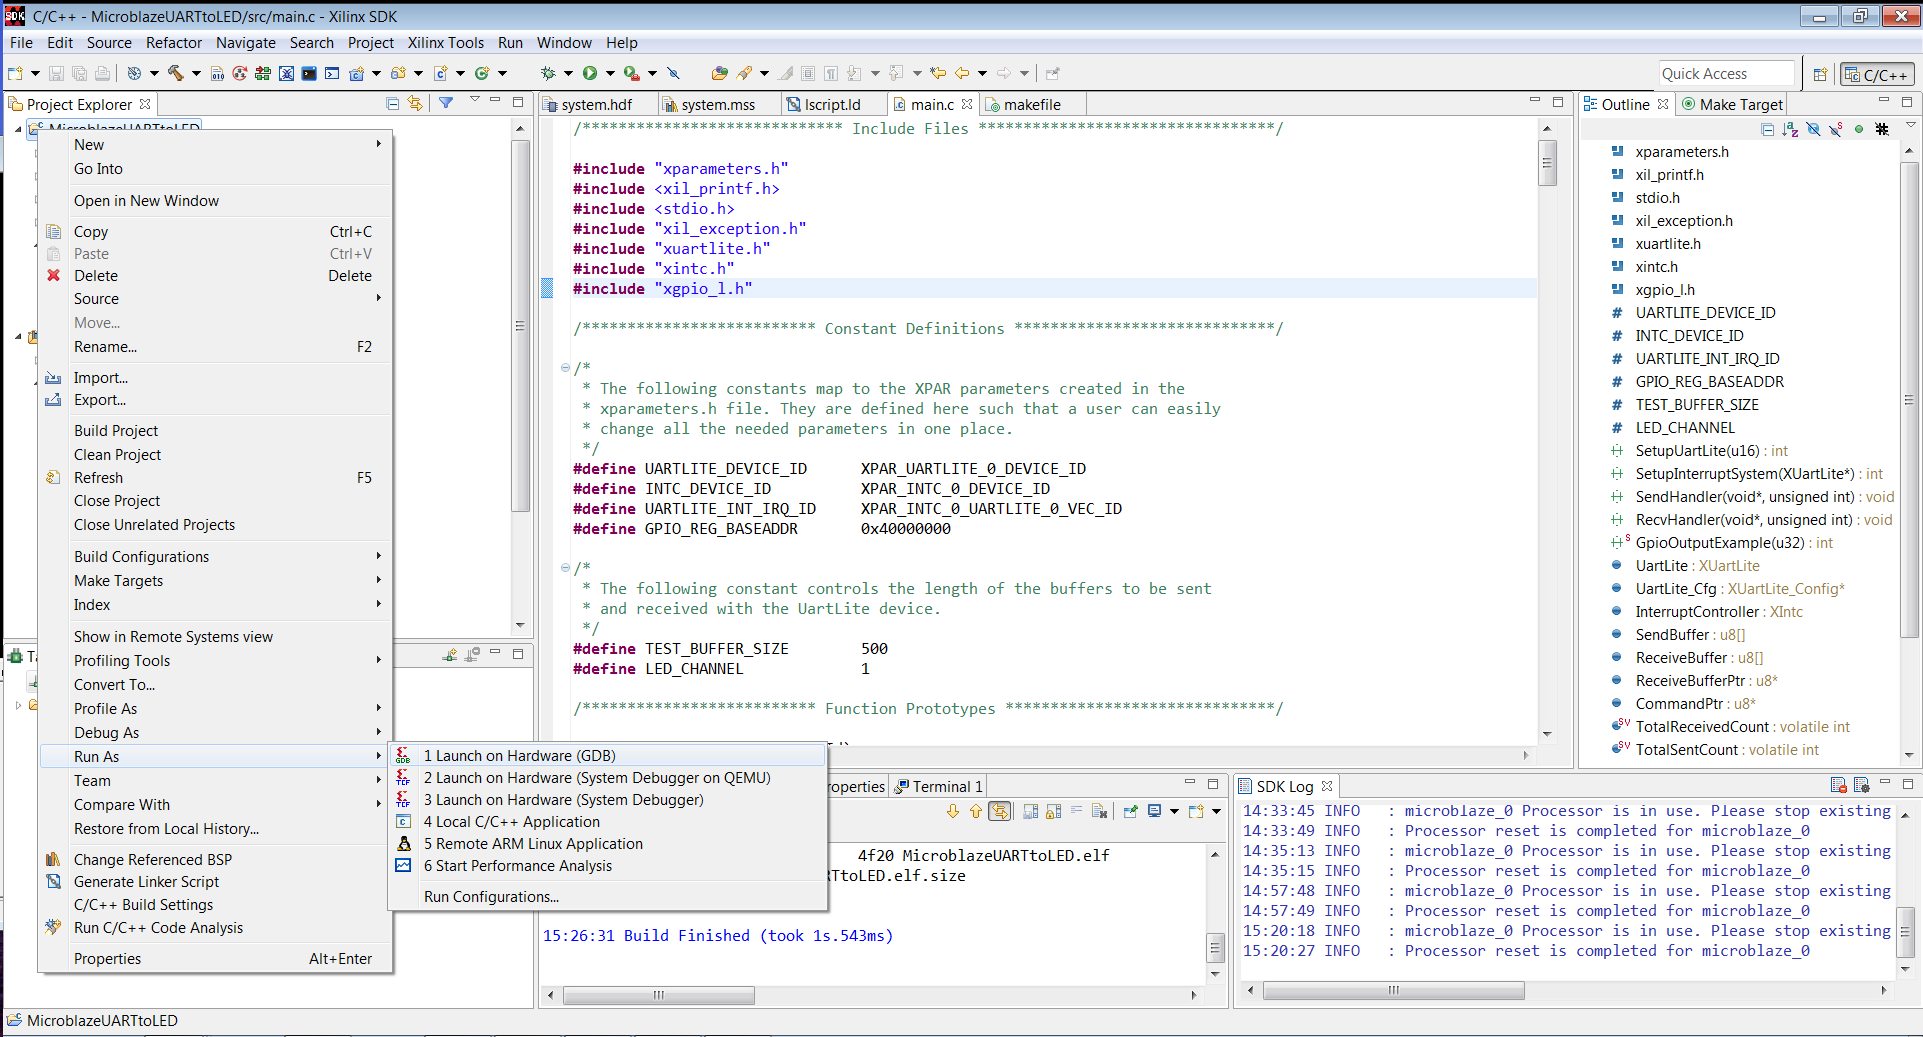
With that connection established, it's time to run our .ELF file in the Microblaze (make sure you've already written the bitstream to the FPGA as outlined in Part 3. In the Project Explorer, right-click on the MicroblazeUARTtoLED folder and go to Run As -> Launch on Hardware (GDB), as shown in the following figure.
If everything went like it was supposed to, you should see something like the following:
And now comes the best part, pressing keys on your keyboard and seeing lights flash! The best part of being an engineer...
← Previous ...
Table Of Contents
- Part 1: Getting Started
- Part 2: Creating the Project in Vivado
- Part 3: Creating the Block Diagram
- Part 4: Building the Application in SDK
- Part 5: Running the Application in SDK