Intro to the Intro
I recently had the opportunity of using Yocto to create an embedded Linux image for a Zynq 7045 for a project at work. After about five or six months of learning and using Yocto, I can say two things:
One: Yocto provides a set of powerful tools that allow you to tailor Linux to meet all your embedded hardware and software needs.
Two: there is a very steep learning curve to the Yocto tools, even if you're already pretty familiar with Linux and embedded systems.
This isn't necessarily a shocker, right? These two things kind of go hand in hand. Any tool that grants you such a large degree of power in customizing Linux to meet your exact needs is going to have a lot of ins and outs.
Of course, there are heaps and heaps of solid documentation describing all the various aspects of Yocto and Bitbake in the Yocto Mega Manual. The real issue for me was that I couldn't find a tutorial that worked through all of the specific things I wanted to do with my board. I couldn't find any easy-to-follow examples of, say, modifying a file in /etc/ so that it gets included on a root file system ramdisk, or using bitbake to create a device tree blob.
This tutorial is my attempt to try to provide some very concrete examples in each of the steps you use as you go along in a Yocto build. I call it Hacking Rapberry 4 because we're going to be going away from the easy-to-install images that are available for the board, and instead tinker around with the bootloader, device tree, kernel, and root filesystem using Yocto.
If you plan on following along for the whole thing, I should warn you that I will purposely be making mistakes along the way! In my opinion, the best way to learn the guts of embedded Linux is to make some mistakes and observe what sort of symptoms result from those mistakes.
Who Is This Tutorial For?
This tutorial is NOT for folks that just want to get Linux up and running with a nice GUI so they can use a video game emulator or host a media server. For that, Raspbian or NOOBs should do the job, and it will be far easier to get things up and running that way than what I'm going to be describing.
The intended audience for this tutorial are people that either:
- Are just starting to use Yocto and want some examples to follow on a cheap, widely available development board,
- Need to create a custom image with included packages that they'll be distributing on a large number of boards, or
- Want to figure out how to generate a customized device tree, ramdisk root filesystem, or bootloader.
- Want to gain a better understanding of what basic files are needed to get Linux up and running on a Raspberry Pi.
Or maybe you just want to see what it would take to get Linux up and running with Yocto before you commit to using it for your embedded solution. Who knows? It's possible you found this page for some really cool reason I'm not even aware of.
What Will I Need To Follow This Tutorial?
In order to follow this tutorial all the way through, you'll need the following:
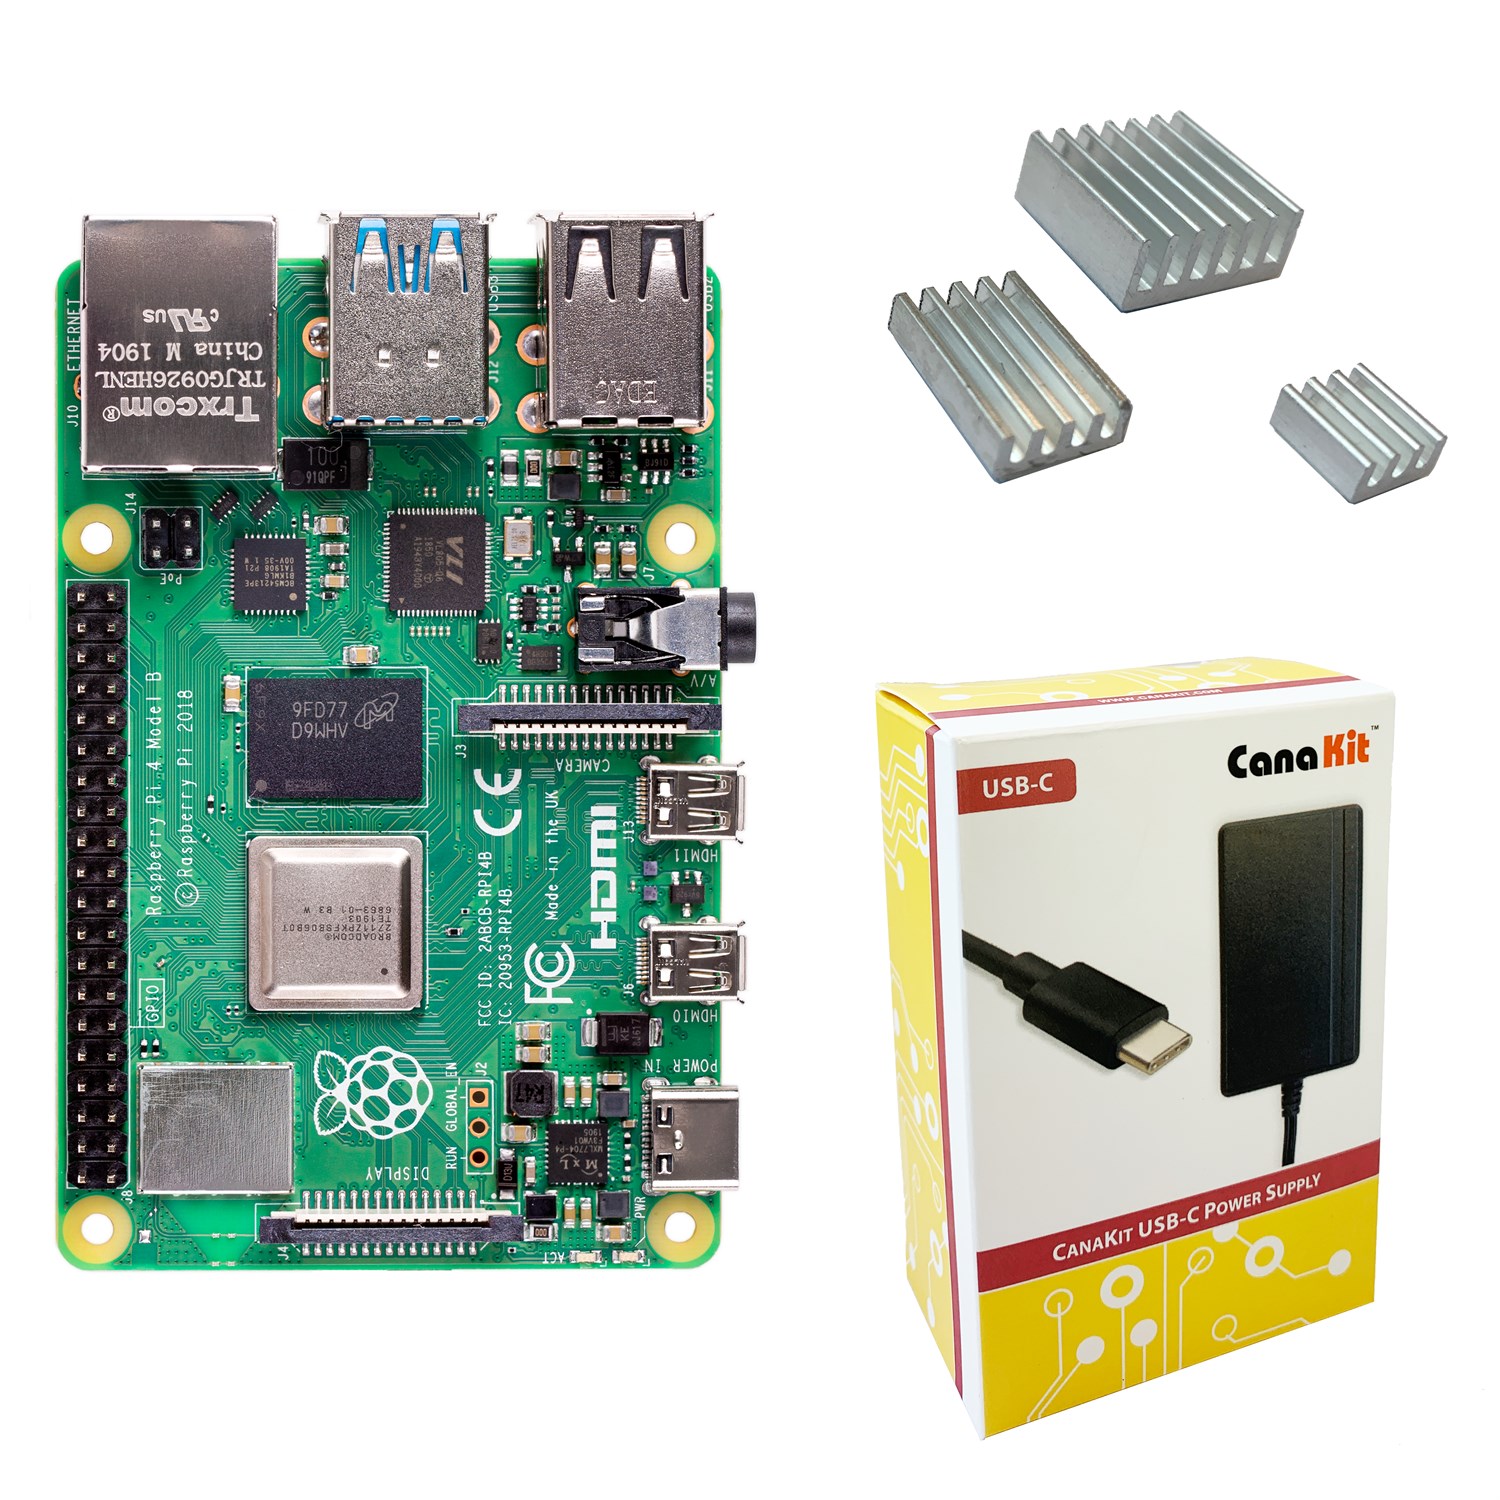
- A Raspberry Pi 4. I'm using the CanaKit 4GB version shown below and available here.
- A 3.3V USB-to-Serial cable. See this page for more information to make sure you don't buy the wrong kind!
- An Ethernet cable so you can connect your Raspberry Pi to your home router or directly to your host machine.
- An Ubuntu OS. This can be a native OS or you can run it on a VM with VirtualBox or your preferred Virtual Machine app.
- Yocto and supporting packages. I'll provide steps on how to obtain what you need during the tutorial.
So without further ado, let's dive in.