9.0 Adding Recipes in Our Custom Layer
In this section, we'll create recipes for two system files that we want to customize right out of the box. One will set the IP address to 169.254.1.100 so that we can ssh into it with just a single computer-to-RPi Ethernet link. The other will create an /etc/fstab file that supports the BOOT and ROOT partitions we've created on the SD card right out of the build.
9.1 Recipe for Fixed IP in /etc/network/interfaces
Nowadays, most people use DHCP for just about every device they own. However, there are numerous reasons why one would want a fixed IP address for a development board. For one, it makes it possible to just connect your computer to the Raspberry Pi with a single Ethernet cable (or a switch), rather than plugging it into a router.
There are two steps we need to take generate a custom /etc/network/interfaces file:
- Create a init-ifupdown_1.0.bbappend file to modify the init-ifupdown_1.0.bb recipe that populates the /etc/network/interfaces file.
- Include our own custom interfaces file to supplant the one included in the poky/meta/meta/recipes-core/init-ifupdown.
9.1.1 Finding the Recipe that Installs /etc/network/interfaces
As I said before, once you know your way around the layers in poky, it'll be straightforward to find the recipe(s) you need to modify to customize your build. But at first, it'll take a lot of find'ing and grep'ing to figure out you need to do. In this case, we're trying to modify the interfaces file, so let's try to find where that is located in the layers of poky.
If we cd into the poky directory and do a find ./ -name interfaces -print, we'll see that the interfaces file is located in poky/meta/recipes-core/init-ifupdown/init-ifupdown-1.0/interfaces. cd'ing into poky/meta/recipes-core/init-ifupdown/ and doing a grep -r interfaces * | grep .bb to find out which recipe contains the instructions to install the interfaces file in the root filesystem, we see it's poky/meta/recipes-core/init-ifupdown/init-ifupdown_1.0.bb..
Let's take a look inside that file. In the do_install section, we see the line: install -m 0644 ${WORKDIR}/interfaces ${D}${sysconfdir}/network/interfaces. And we also see an assignment of SRC_URI="file://interfaces". What we need to do is modify the recipe to override the interfaces file in the poky layer with our own.
9.1.2 Creating the init-ifupdown_1.0.bbappend File
Ok, so we need to create a .bbappend file for the recipe we just found above. Once again, we'll place the .bbappend file in our meta-rpilinux layer, in a place that mimics the location of the init-ifupdown_1.0.bbappend file in the meta layer of poky.
cd ~/Yocto/meta-rpilinux
mkdir -p recipes-core/init-ifupdown
vi init-ifupdown_1.0.bbappend
The contents of the init-ifupdown_1.0.bbappend file will simply be the following one line:
FILESEXTRAPATHS_prepend := "${THISDIR}:"filesThis directive will tell bitbake that it should override any files specified in the original recipe with the ones that are located in THISDIR, which is the directory in which our .bbappend file is located in.
9.1.3 Creating Our Replacement interfaces File
Ok, so now that we have our recipe all set up. All we need to do is include our custom interfaces file in the same directory. Create a interfaces file in /Yocto/meta-rpilinux/recipes-core/init-ifupdown that has the following contents:
# /etc/network/interfaces -- configuration file for ifup(8), ifdown(8)

# The loopback interface
auto lo
iface lo inet loopback

# Wired or wireless interfaces
auto eth0

iface eth0 inet static
  address 169.254.1.100
  netmask 255.255.255.0
If you'd like, you can download the interfaces file here.
If we do another bitbake -c cleanall rpilinux-image; bitbake rpilinux-image and redeploy the root filesystem to the SD card (see the previous section), you'll see that the file in /media/ROOT/etc/network/interfaces now looks like the one we just created above! We can now ssh into the board at the 169.254.1.100 anytime we want.
9.1.4 IMPORTANT: Static IP on eth0 Not Taking Effect on Power-Up
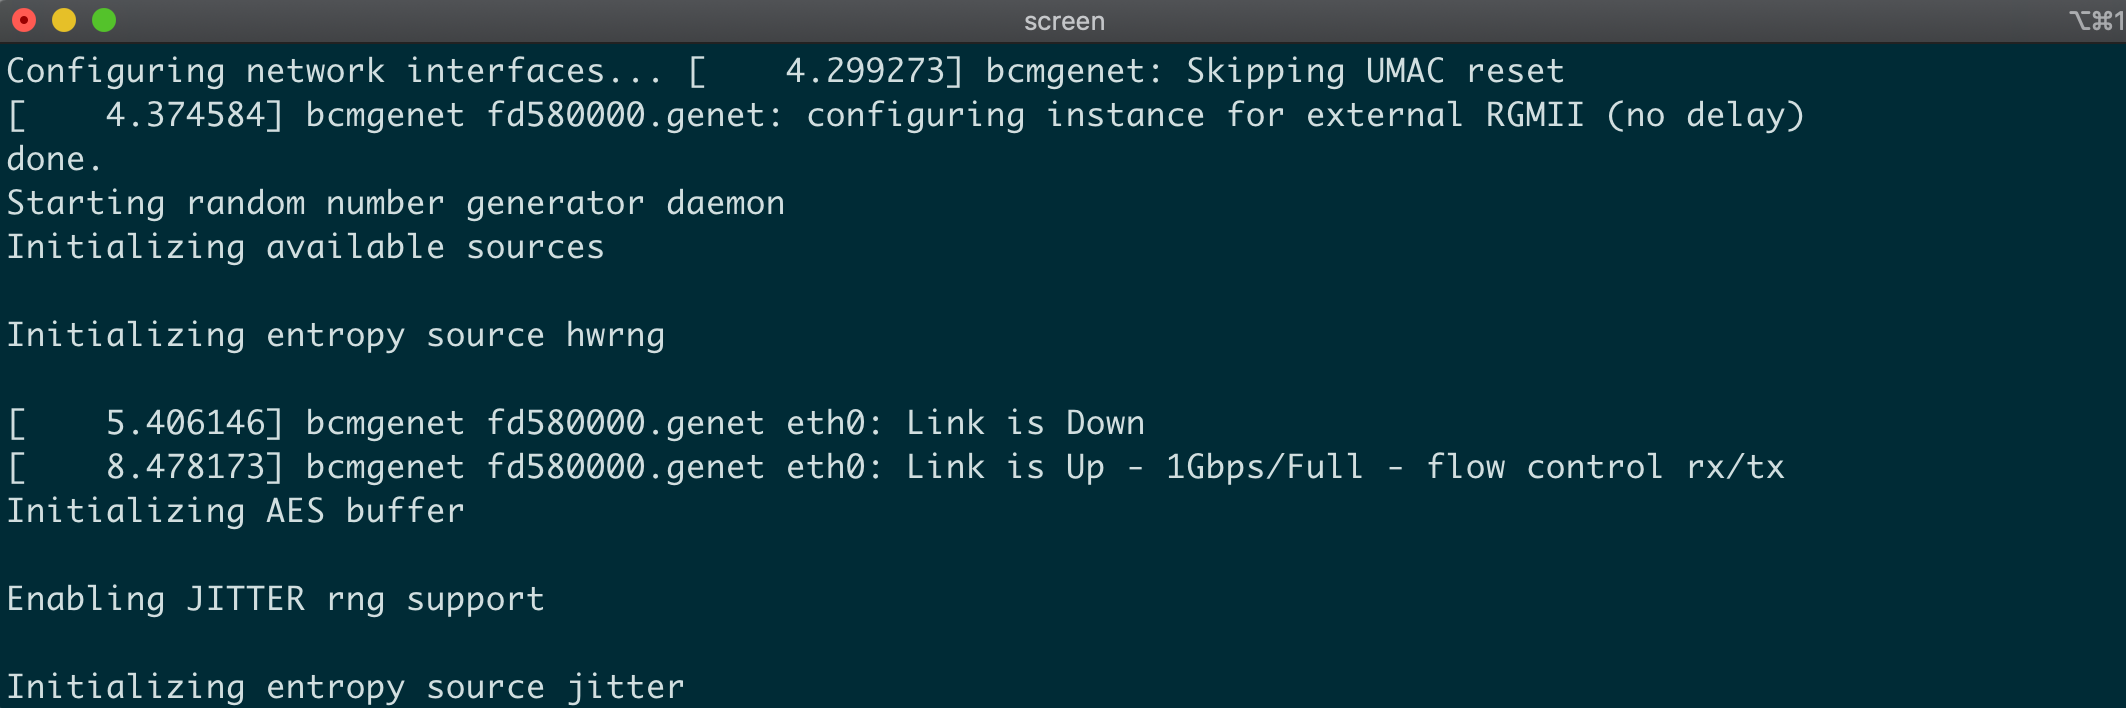
When I first tried booting up with the new interfaces file shown above, I was pretty perplexed to see that my eth0 interface had not been configured at all! Somehow, even though the interfaces file was correctly configured, the static IP was not taking effect. I did an ip -a and saw no IP address or netmask for eth0. The kernel message that was printed out at bootup was the following:

The kernel seemed happy since it was stating "ifup: inerface eth0 already configured". But clearly eth0 was not configured like I wanted it to be (with the IP address of 169.254.1.100).
If I did a shutdown -r now from the command line, everything worked just fine. So somehow, the cold boot wasn't really configuring the eth0 device according to the specifications laid out in /etc/network/interfaces.
Initially, I thought the phy might not be powered up properly by the time the kernel was trying to reach it. But then I did a proper shutdown with shutdown -h now and then turned power off (before I was just turning power off without doing a halt, which I know isn't the best way to do things...). When I powered back up, it configured the network interface correctly!
So the only case where eth0 wasn't getting configured is if I powered off the board without doing a proper shutdown on the OS. Although we should always do a shutdown -h now, I think the kernel should still configure the device correctly regardless of it was improperly powered down. To achieve this, I create an init file in the /Yocto/meta-rpilinux/recipes-core/init-ifupdown layer to replace the default /etc/init.d/networking file.
You can download the file here. Basically, the only change that was necessary was to add ifdown -a in the start section, just below the ifup -a directive. The section looks like this after the change:
start)

        echo -n "Configuring network interfaces... "
        sysctl -e -p /etc/sysctl.conf >/dev/null 2>&1
        ifdown -a
        ifup -a
        echo "done."
        ;;
After making this change, the kernel will properly configure eth0 regardless of whether or not the RaspberryPi was shutdown properly or not. It seems like a bit of a hack, but if you want to ensure you can always communicate with the board using Ethernet (in case there's a power outage or something like that), then this is a decent solution.
9.2 Recipe for BOOT and ROOT partitions in /etc/fstab
The procedure for modifying /etc/fstab is almost identical to the one we just went through.
9.2.1 Finding the Recipe that Installs /etc/fstab
As you might guess, the fstab file is also under poky/meta. That's where the standard Linux system files and the recipes to build them are located. If we cd into that directory and do a find ./ -name fstab -print, we'll see that the fstab file is located in poky/meta/recipes-core/base-files/base-files/fstab. cd'ing into poky/meta/recipes-core/base-files/, we see the base-files_3.0.14.bb recipe that we'll have to append.
Looking inside that file, in the do_install section, we see the line: install -m 0644 ${WORKDIR}/fstab ${D}${sysconfdir}/fstab. The SRC_URI variable shows that the default file is in the same directory. So similar to last time, we need to do is modify this recipe to override the fstab file in the poky layer with our own.
9.2.2 Creating the base-files_3.0.14.bbappend File
Just like last time, we need to create a .bbappend file for the recipe we just found. We'll create the proper directory and then the file.
cd ~/Yocto/meta-rpilinux
mkdir -p recipes-core/base-files
vi base-files_3.0.14.bbappend
The contents of the base-files_3.0.14.bbappend file will again be the following one line:
FILESEXTRAPATHS_prepend := "${THISDIR}:"We're telling bitbake to use the fstab file in this directory of our layer, which we will create in the next subsection.
9.2.3 Creating Our Replacement fstab File
Ok, so now that we have our recipe all set up. All we need to do is include our custom fstab file in the same directory. Create a fstab file in /Yocto/meta-rpilinux/recipes-core/base-files that has the following contents:
proc                    /proc           proc    defaults          0       0
/dev/mmcblk0p1          /boot           vfat    defaults          0       2
/dev/mmcblo0p2          /               ext4    defaults,noatime  0       1
If you'd like, you can download the fstab file here.
After doing another bitbake -c cleanall rpilinux-image; bitbake rpilinux-image and decompressing the root filesystem to our SD card, we should now see the fstab file above in /etc/fstab of our filesystem!
The great thing about this is that now we can create tons of SD cards for customers or clients, and we won't have to manually edit these system files. We've got our own custom Linux build right out of the gates!
← Previous ... Next →